
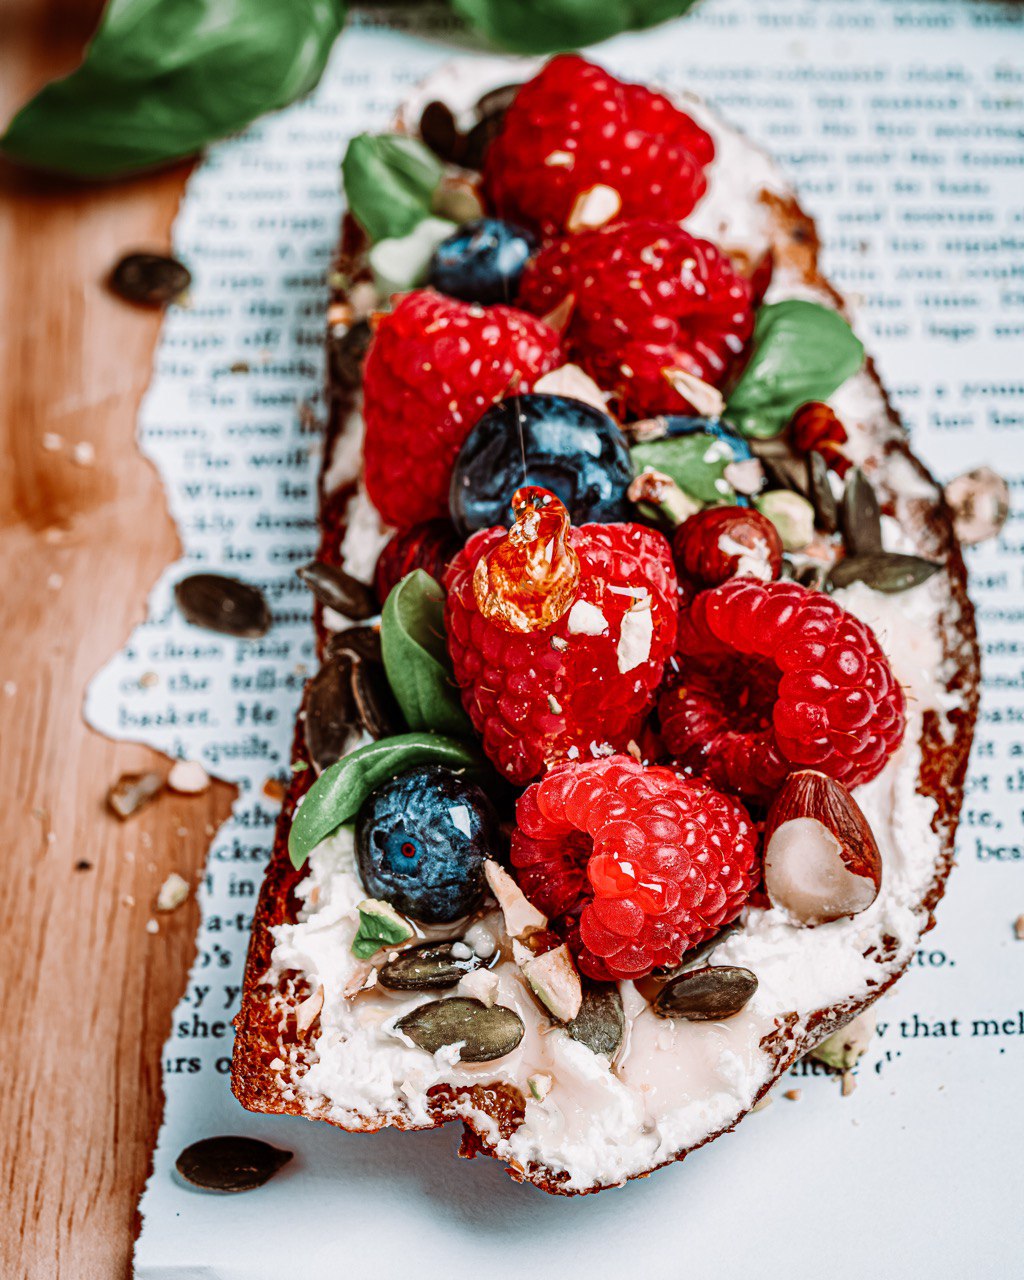
5 Mistakes to Avoid in Food Styling and Photography
Choosing the wrong props
When it comes to food styling and photography, props can make or break the overall look of your image. One of the most common mistakes that beginners make is choosing the wrong props that do not complement the food they are trying to showcase.
- Mismatched colors and textures: Be mindful of the colors and textures of your props. Avoid using props that clash with the colors and textures of the food you are photographing. Instead, choose props that enhance and complement the dish.
- Too many props: Another mistake is using too many props in a single photo. This can clutter the image and take away from the main subject – the food. Keep it simple and only use props that add to the story you are trying to tell.
- Irrelevant props: Make sure that the props you choose are relevant to the dish you are photographing. For example, using a fancy teacup for a simple breakfast meal may not make sense and could distract from the food itself.
- Size matters: Pay attention to the size of your props in relation to the food. Using oversized props can overwhelm the dish, while using undersized props can make the food look unappetizing. Make sure that your props are in proportion with the food.
- Quality over quantity: It’s better to invest in a few high-quality props that you can use for multiple shoots, rather than buying cheap, disposable props. Quality props can elevate the overall look of your photos and give them a professional touch.
- Consider the theme: Think about the theme or style you want to convey in your photos and choose props that align with that theme. Whether it’s rustic, elegant, minimalistic, or vibrant, your props should match the overall aesthetic you are going for.
By paying attention to the props you choose for your food styling and photography, you can enhance the visual appeal of your images and create a cohesive and polished look that will captivate your audience.
Overlooking Natural Lighting
One common mistake in food styling and photography is overlooking the importance of natural lighting. Natural light is crucial in capturing the true colors and textures of your food, and can make a huge difference in the overall quality of your photos. When you rely solely on artificial lighting, your photos can end up looking flat and lifeless.
- Try to shoot your photos near a window or outdoors where there is plenty of natural light streaming in. Position your food so that the light is coming from the side rather than directly above or below, this will help create more depth and dimension in your photos.
- Avoid harsh midday sunlight which can create unflattering shadows and contrasts. Opt for softer, diffused light either early in the morning or later in the afternoon for more flattering results.
- Consider investing in a reflector or a diffuser to control and enhance the natural light in your photos. Reflectors can bounce light onto your food, creating highlights and softening shadows, while diffusers can help create a more even and balanced light.
Remember, natural light is free, easy to work with, and can make a world of difference in your food photography. Take the time to plan your photo shoots around natural light, and you will see a significant improvement in the quality of your photos.
Don’t underestimate the power of natural light in making your food look enticing and delicious!
Not Paying Attention to Composition
When it comes to food styling and photography, one crucial mistake to avoid is not paying attention to composition. Composition refers to how all the elements in your photo come together to create a visually pleasing image. Ignoring composition can result in a cluttered or unbalanced photograph that fails to showcase your food in the best light.
- Balance: One key aspect of composition is balance. Make sure that the elements in your photo are distributed evenly and create a sense of symmetry. Avoid placing all the props or food items on one side of the frame, as this can make the photo feel off-balance.
- Rule of Thirds: The rule of thirds is a helpful guideline for composing your photos. Imagine dividing your frame into a grid of three equal parts both vertically and horizontally. Place key elements of your photo at the points where these lines intersect for a more visually appealing composition.
- Leading Lines: Use leading lines to draw the viewer’s eye towards your focal point. This could be a serving spoon leading towards a dish of food or a knife pointing towards a slice of cake. Leading lines help guide the viewer’s gaze through the photo in a natural way.
- Negative Space: Don’t overcrowd your photo with props and food items. Leaving some empty space, known as negative space, can create a sense of simplicity and elegance in your composition. Negative space can also help highlight your main subject and make it stand out.
- Perspective: Experiment with different angles and perspectives to add interest to your composition. Instead of always shooting from eye level, try shooting from above or below the food for a unique look. Changing your perspective can help you discover new compositions and capture your food in a fresh way.
By paying attention to composition in your food styling and photography, you can elevate the visual appeal of your photos and make your dishes look even more appetizing. Take the time to carefully arrange your props, use the rule of thirds, incorporate leading lines, leverage negative space, and explore different perspectives to create compelling compositions that enhance your culinary creations.
Using too many editing filters
One common mistake that beginners often make in food styling and photography is using too many editing filters. While it can be tempting to apply multiple filters to enhance the look of your photos, overdoing it can actually detract from the natural beauty of the food.
Filters are meant to enhance your photos, not completely alter them. When you pile on too many filters, your image may end up looking unnatural and unappetizing. Instead of relying on filters to make your food photos stand out, focus on capturing the true colors and textures of the dishes you are photographing.
- Stick to one or two subtle filters that complement the colors and mood of your photo.
- Avoid using extreme filters that make your food look overly saturated or washed out.
- Take the time to adjust the lighting and composition of your photo before reaching for the filter tool.
Remember, less is often more when it comes to editing filters. By keeping things simple and subtle, you can create stunning food photos that highlight the natural beauty of your dishes.
Ignoring the importance of food prep and presentation
One of the biggest mistakes you can make in food styling and photography is neglecting the importance of food prep and presentation. Sure, you may have the most exquisite props and perfect lighting, but if the food itself looks unappetizing or messy, all your efforts will go to waste.
- When preparing food for a photoshoot, make sure to pay close attention to details. Use fresh ingredients, take the time to plate the dish beautifully, and ensure that everything is clean and neatly arranged.
- Think about how each element of the dish will look through the camera lens. Is there a garnish that could add a pop of color or texture? Would a sprinkle of herbs or a drizzle of sauce enhance the overall appearance?
- Consider the portion size and how it will fit within the frame of the photo. You don’t want a large portion overwhelming the composition or a tiny bite getting lost in the image.
Remember, the goal of food styling and photography is not just to make the food look pretty, but to make it look irresistible and appetizing. The way you present the dish can make a huge difference in how it is perceived by the viewer.
Not only does proper food prep and presentation make your photos more visually appealing, but it also shows respect for the food itself. Taking the time to carefully prepare and style each dish demonstrates a level of care and appreciation that will come through in the final images.
So next time you’re setting up a food photoshoot, don’t rush through the preparation process. Take the time to plate the dish thoughtfully, considering every detail from color to texture to composition. Your photos will thank you for it.
Relying Solely on Artificial Lighting
One common mistake that many food stylists and photographers make is relying solely on artificial lighting. While artificial lighting can be helpful in certain situations, natural light is often the best way to capture the true colors and textures of your food.
Artificial lighting can sometimes give off a harsh or unnatural look to your photos, making your food appear less appetizing. Natural light, on the other hand, can enhance the natural beauty of your dishes and create a more appealing final product.
- Try to capture your photos during the golden hours of the day, just after sunrise or just before sunset, when the light is softer and more flattering.
- Consider setting up your shoot near a window where natural light can flood in and illuminate your food from different angles.
- Experiment with different light sources and diffusing tools to create the perfect lighting for your photos.
By incorporating natural light into your food styling and photography, you can elevate the quality of your images and create a more inviting and mouth-watering experience for your audience.
Not Considering the Background of the Photo
When it comes to food styling and photography, the background of your photo can make or break the shot. Too often, photographers focus solely on the food itself and forget about what’s in the background. This can lead to cluttered, distracting photos that take away from the main subject – the food.
A busy or messy background can detract from the overall beauty of your dish, causing the viewer to lose focus on the food itself. Instead, opt for simple, neutral backgrounds that complement the colors and textures of the food you are photographing.
- Choose a clean, uncluttered surface or backdrop to place your dish on. A simple white plate or wooden tabletop can work wonders to enhance the look of your food.
- Avoid using backgrounds that are too busy or colorful, as they can compete with the food for attention. Your goal is to highlight the food, not distract from it.
- Consider using props sparingly to add interest to the background without overwhelming the main subject. A strategically placed napkin, utensil, or herb sprig can enhance the composition without taking away from the dish itself.
Ultimately, the background should complement and enhance the overall aesthetic of your food photography. It should provide context and set the mood for the dish without overpowering it. By paying attention to the background of your photo, you can create a visually appealing image that showcases your food in the best possible light.
Rushing through the Photo Shoot
One common mistake in food styling and photography is rushing through the photo shoot. When you’re in a hurry, you may not have the time to properly set up your scene, adjust lighting, or make sure every detail is just right. This can result in subpar photos that don’t showcase your food in the best light.
- Take the time to plan out your photo shoot in advance. This includes selecting props, setting up backgrounds, and preparing your food.
- Don’t skimp on arranging and styling your food. Take the time to arrange each dish in an appealing way, paying attention to shapes, textures, and colors.
- Make sure you have the proper lighting set up before you start shooting. Natural light is ideal, but if you’re using artificial lighting, take the time to adjust it properly.
- Don’t rush through the editing process either. Take the time to carefully edit your photos to enhance colors, highlight textures, and make sure your food looks as delicious as possible.
- Finally, don’t rush through the entire process. Enjoy the experience of styling and photographing your food. Take the time to experiment with different angles, compositions, and techniques to create truly captivating images.
By taking your time and avoiding the temptation to rush through the photo shoot, you’ll be able to create stunning images that showcase your food in the best possible way.
Using distracting or unappealing backgrounds
One common mistake to avoid in food styling and photography is using distracting or unappealing backgrounds. The background of your photo can make a huge difference in how your food looks in the final image.
When selecting a background, it’s important to choose one that complements the color and texture of the food you are photographing. Avoid busy backgrounds with patterns or textures that clash with the dish. Instead, opt for simple and neutral backgrounds that allow the food to be the star of the photo.
- Ensure that there are no cluttered or messy elements in the background that can draw the viewer’s attention away from the food.
- Consider using props or utensils that are relevant to the dish being photographed to add interest to the scene without overshadowing the food itself.
- Experiment with different surfaces such as wood, marble, or slate to find out what works best for showcasing your food.
Remember, the background should enhance the overall composition of the photo and not compete with the main subject. By paying attention to the background, you can create beautiful and visually appealing food photographs that truly stand out.
Failing to create a cohesive color palette
When it comes to food styling and photography, creating a cohesive color palette is crucial in ensuring that your photos look visually appealing and professional. Failing to consider the colors in your styling can result in a messy and cluttered image that fails to attract viewers.
- Choosing the right colors: When picking colors for your food styling, think about complementary or contrasting colors that will make your dish pop. Consider the colors of the food itself, as well as the props and backgrounds you are using. Make sure that the colors work well together and don’t clash.
- Creating balance: A cohesive color palette is all about balance. Avoid using too many different colors that can overwhelm the viewer. Instead, choose a few key colors that complement each other and help highlight the food. Think about using different shades of the same color to create depth and interest in your photos.
- Consistency is key: Keep your color palette consistent throughout your photoshoot. This will help create a cohesive look and tie all of your images together. Consider using similar props, backgrounds, and editing techniques to maintain a consistent aesthetic.
- Consider the mood: Colors can evoke specific emotions and set the mood for your photos. Think about the message you want to convey with your food styling and select colors that help communicate that message. For example, warm and vibrant colors can create a lively and inviting atmosphere, while cool and muted tones can give a more elegant and sophisticated feel.
When creating a cohesive color palette, take the time to plan and experiment with different color combinations before starting your photoshoot. By paying attention to the colors in your styling, you can elevate your photos and create visually stunning images that capture the attention of your audience.
Neglecting the importance of angles and perspectives
When it comes to food photography, the angle and perspective from which you shoot your dishes can make all the difference in how visually appealing they appear. Neglecting the importance of angles and perspectives can lead to unappetizing or uninteresting photos.
- Eye-level shots: Taking photos from eye-level allows the viewer to feel like they are right there at the table with the food. This can create a more intimate and engaging experience for the viewer.
- Overhead shots: Shooting from directly above the food can be a great way to showcase the patterns, shapes, and textures of the dish. It can also provide a unique and captivating view of the meal.
- Side shots: Side shots can help highlight the layers and ingredients of a dish. They can also emphasize height, depth, and dimension in the photo.
- Close-up shots: Close-up shots can capture the details and textures of the food, making the viewer feel like they can almost reach out and touch it. This can create a sense of desire and craving for the dish.
Experimenting with different angles and perspectives can help you find the most flattering way to photograph your food. Don’t be afraid to get creative and try out different vantage points to see what works best for each dish.
Remember, the goal of food styling and photography is to make the viewer want to reach through the screen and take a bite. By paying attention to angles and perspectives, you can create photos that are not only visually stunning but also mouth-wateringly tempting.
Ignoring the Role of Styling Tools and Techniques
One of the biggest mistakes you can make in food styling and photography is ignoring the importance of using the right tools and techniques to enhance your images. Without the proper styling tools, your dishes may not look as appetizing or appealing as they could be.
- One key tool to have in your arsenal is a set of tweezers- they may seem insignificant, but they can be incredibly helpful in positioning small food items or garnishes exactly where you want them in your shot.
- Another essential tool is a spray bottle filled with water or oil, which can help maintain the freshness and luster of your food as you photograph it.
- Utilizing a small paintbrush can also help you brush on sauces or oils to add shine and texture to your dishes.
In addition to having the right tools, understanding and utilizing different styling techniques can take your food photography to the next level. For example, the use of garnishes and props can help elevate the overall aesthetic of your photos by adding depth and visual interest to the composition.
Experimenting with different plating techniques, such as stacking or layering food items strategically, can create a more dynamic and visually appealing image. Using varying textures and contrasting colors can also help make your dishes pop on camera.
Furthermore, don’t forget about the role of backgrounds and surfaces in your food photography. Selecting the right backdrop or setting for your dishes can make a huge difference in the overall appeal of your photos.
Ultimately, paying attention to the details and incorporating the right styling tools and techniques can help you create stunning and mouth-watering food images that stand out from the crowd. So, don’t overlook the role that these elements play in the success of your food styling and photography endeavors!
More
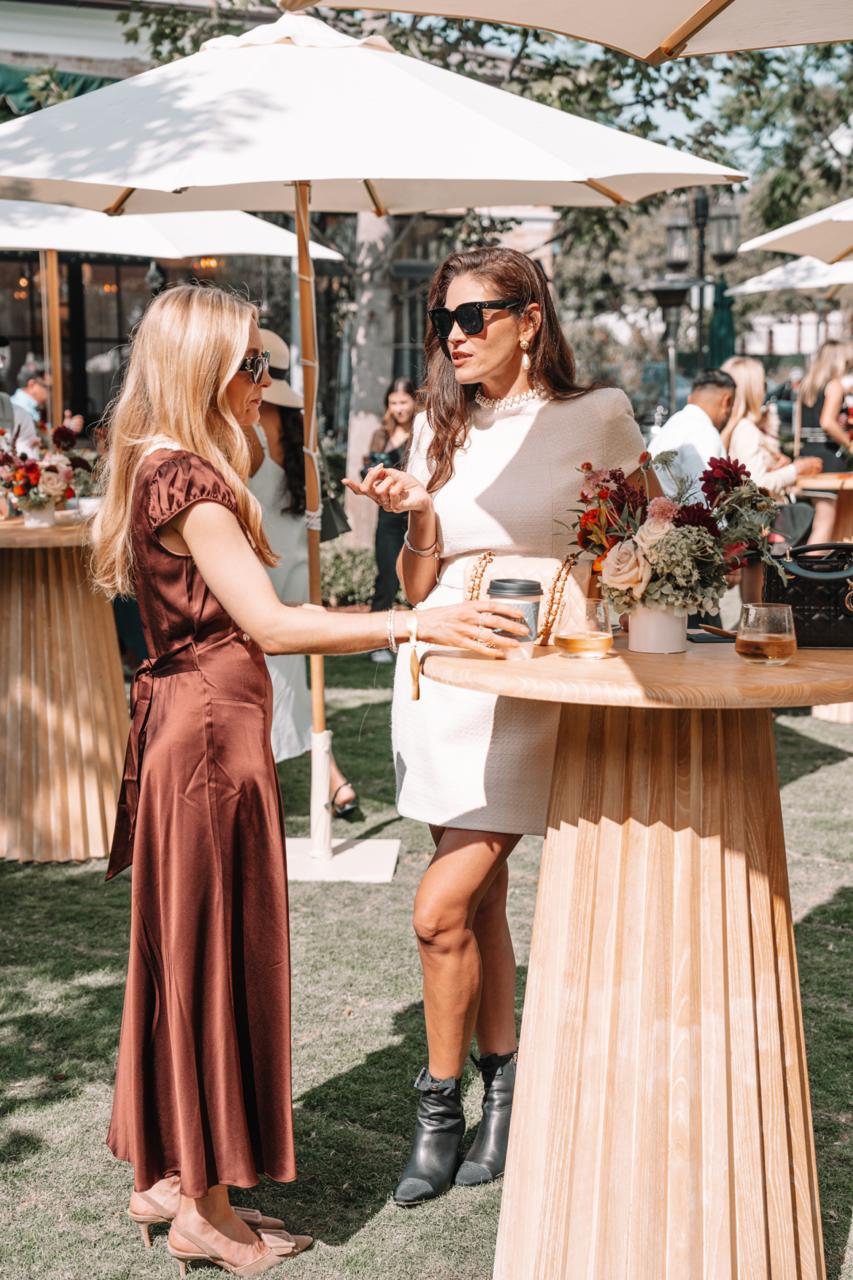
Case : Event photography for Palisades Village
Palisades Village is a premier outdoor shopping and lifestyle destination in Pacific Palisades, California. Capturing events at such an iconic venue requires a blend of candid storytelling, detailed commercial shots, and high-energy atmosphere photography. Below is a breakdown of how we captured the essence and vibrant energy of this event. Every great event begins with […]
More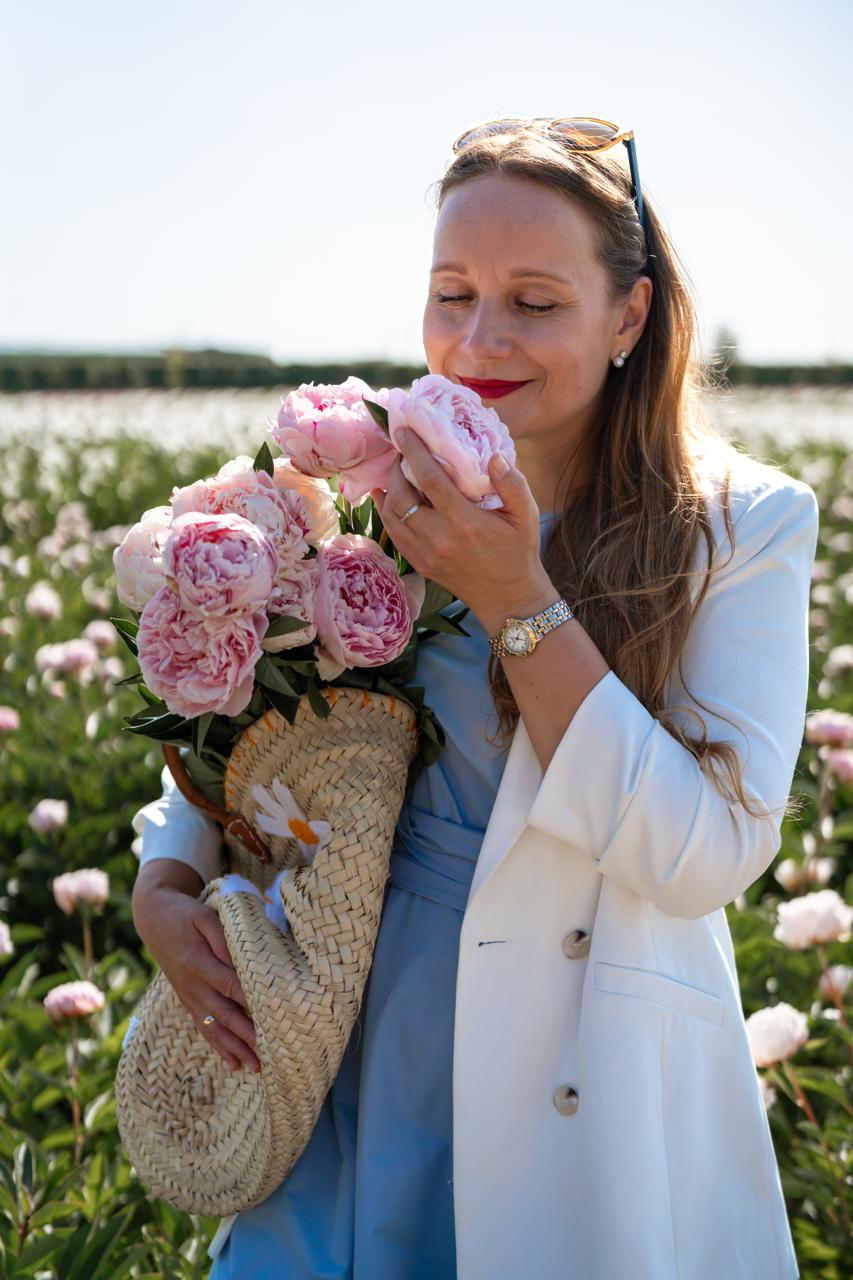
Case : Peony Field Photoshoot at Bury Lane Farm | Cambridge Photographer
This beautiful group portrait photography session took place in the breathtaking peony fields of Bury Lane Farm in Cambridgeshire. As a Cambridge photographer specialising in portrait photography and lifestyle photography, I love creating natural images that capture genuine emotions and meaningful moments. Nine wonderful women came together to enjoy an unforgettable summer afternoon surrounded by […]
More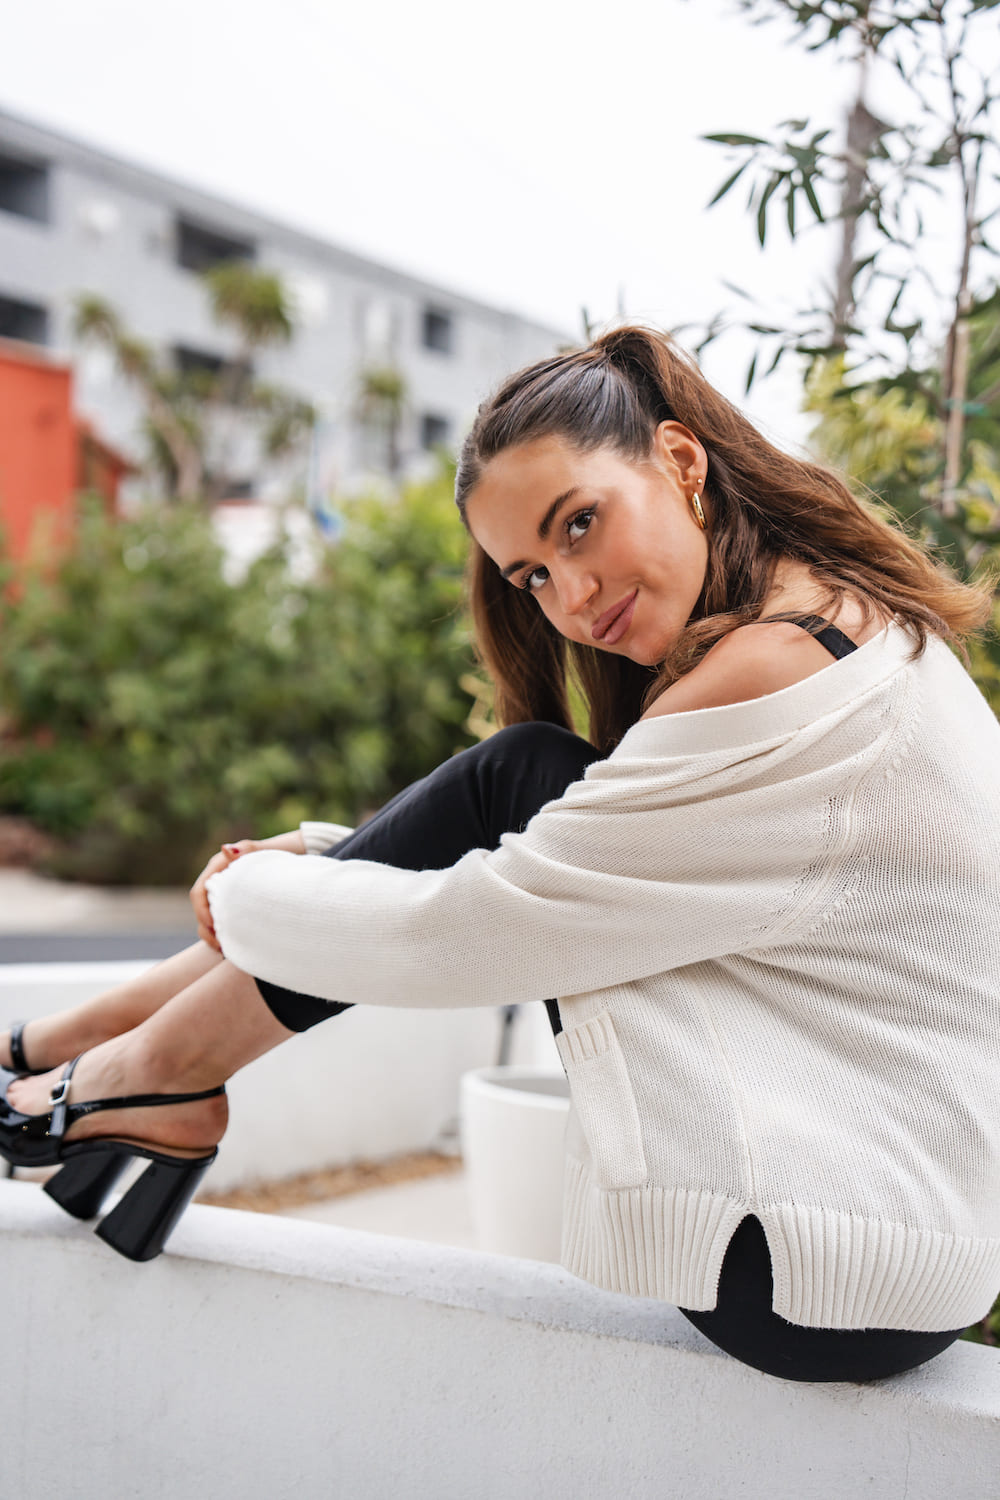
Case : Professional Headshot Photography in West Hollywood
I delivered personalized headshot photography sessions in West Hollywood for professionals seeking high-impact images for articles, corporate profiles, and social media. Client: Professionals and musicians looking to elevate their personal branding with compelling portraits. Objective: To create confident, authentic images that help clients make a memorable first impression. Process: 1. Consultation Discussed each client’s style […]
More