

Ultimate Product Photography guide 2024-2025
When it comes to selling products, first impressions are everything. High-quality product photography is key to attracting customers and making your items stand out from the competition. Think about it – when you are shopping online, what catches your eye first? It’s the images of the products, right? That’s why investing time and effort into creating stunning product photos is crucial for the success of your business.
Not only does great product photography showcase your products in the best light possible, but it also helps build trust with your potential customers. Clear and detailed images allow shoppers to see exactly what they are getting, reducing the chances of returns or dissatisfaction. Good product photos can also convey the quality and value of your products, making them more appealing to buyers.
With the rise of online shopping, high-quality product photography has never been more important. In a sea of endless options, customers are more likely to choose products that are visually appealing and well-presented. By investing in professional product photography, you can differentiate your brand and make a lasting impression on potential buyers.
- Increased Sales: High-quality product photography can lead to higher conversion rates and increased sales. When customers can clearly see the product they are interested in, they are more likely to make a purchase.
- Brand Image: Consistent and professional product photography can help strengthen your brand image and create a sense of trust and credibility with your audience.
- Competitive Advantage: In a competitive market, great product photos can help your products stand out and attract more attention from customers.
In conclusion, high-quality product photography is not just a nice-to-have – it is a necessity for any business looking to succeed in today’s digital landscape. By understanding the importance of great product photos and investing in the right resources, you can elevate your brand and drive more sales.
Equipment needed for product photography
When delving into the world of product photography, having the right equipment is key to capturing stunning images that showcase your products in the best light. Here are some essential tools and gear you’ll need to get started:
- Camera: A good quality camera is essential for capturing clear and sharp product photos. Whether you choose a DSLR, mirrorless, or even a high-end smartphone camera, make sure it has manual settings for more control over your shots.
- Tripod: Stability is crucial in product photography to avoid blurry images. Invest in a sturdy tripod to keep your camera steady during shoots, especially when using longer exposure times.
- Lighting equipment: Proper lighting is key to creating well-lit and appealing product photos. Consider investing in softboxes, reflectors, or LED lights to achieve the desired lighting effects.
- Backdrop: A clean and neutral backdrop helps draw attention to your products without distracting elements. Choose a white or black backdrop for versatility or experiment with colored backgrounds to enhance your product shots.
- Reflectors: Reflectors can help bounce light onto your products to fill in shadows and create a more balanced and flattering look. These handy tools are great for controlling the lighting in your photos.
- Product staging props: Props such as fabric, foliage, or small accessories can add interest and context to your product shots. Be creative in selecting props that complement your products without overshadowing them.
- Product table: A stable surface, such as a product table or flat surface, provides a dedicated space for arranging and photographing your products. Consider using a table with adjustable height for added convenience during shoots.
By having these essential equipment items ready, you’ll be better equipped to dive into the world of product photography and capture eye-catching images that attract customers and elevate your brand.
Setting up Your Product Photography Studio
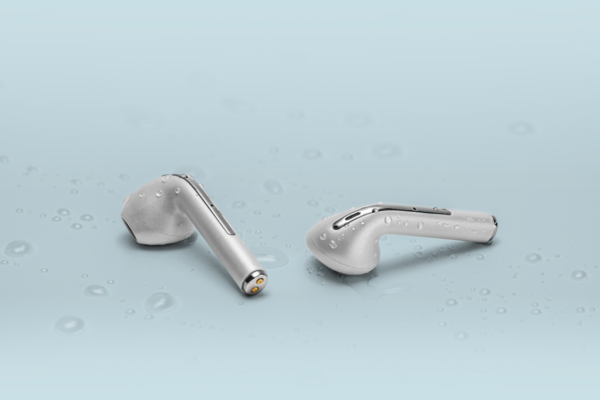
Setting up a dedicated space for product photography is essential for creating high-quality images that showcase your products in the best light. Here are some key steps to help you set up your product photography studio:
- Choose a Space: Select a room that has good natural light or can be easily controlled with artificial lighting. Ideally, the space should be large enough to accommodate your products and equipment comfortably.
- Background: Invest in a backdrop stand and different colored backdrops to provide versatility in your product photography. Neutral colors like white, black, and gray are often popular choices as they can complement a wide range of products.
- Table or Surface: Use a sturdy table or surface to place your products on during photoshoots. Make sure the table is clean and free of distractions that could take away from the focus on your product.
- Tripod: A tripod is essential for keeping your camera steady and capturing clear, sharp images. Choose a tripod that is adjustable and stable to suit different shooting angles.
- Lighting Equipment: Proper lighting is crucial for product photography. Consider investing in adjustable studio lights, softboxes, and reflectors to control the light and eliminate harsh shadows on your products.
- Props and Accessories: Depending on the style and theme of your products, props and accessories can enhance your product photography and create a more visually appealing composition. Experiment with different props to see what works best for your products.
- Organization: Keep your studio organized and clutter-free to ensure a smooth workflow during photoshoots. Have designated spaces for your equipment, props, and products to help you stay focused and efficient.
- Test Shots: Before beginning your photoshoot, take test shots to adjust your camera settings, lighting, and composition. This will help you fine-tune your setup and produce consistent results throughout your shoot.
By following these steps, you can create a professional product photography studio that will set the foundation for capturing stunning images of your products. Remember, practice makes perfect, so don’t be afraid to experiment and refine your setup to achieve the best results.
Choosing the Right Lighting for Product Photography
Lighting is a crucial element in product photography as it can greatly affect the overall look and feel of your images. The right lighting can enhance the features of your products, highlight important details, and create a visually appealing composition. Here are some tips to help you choose the right lighting for your product photography:
- Natural light: Natural light can often be the best choice for product photography as it provides a soft, diffused light that can showcase your products in a natural and flattering way. Try setting up your studio near a window to take advantage of this light source.
- Artificial light: If natural light is not available or you need more control over the lighting conditions, artificial light sources such as strobe lights, continuous lights, or LED panels can be used. Experiment with different types of artificial lighting to find what works best for your products.
- Diffused light: To avoid harsh shadows and minimize reflections, use diffusers or light modifiers to soften the light and create a more even lighting across your products. This can help eliminate distractions and focus the viewer’s attention on your products.
- Direction of light: Pay attention to the direction of light when setting up your product photography. Side lighting can create depth and dimension, while overhead lighting can highlight textures and details. Experiment with different angles to see what works best for your products.
- White balance: Ensure that your lighting is balanced to achieve accurate colors in your product photos. Adjust the white balance settings on your camera or use editing software to fine-tune the color temperature of your images.
By choosing the right lighting for your product photography, you can elevate the visual appeal of your products and create stunning images that capture the attention of your audience. Take the time to experiment with different lighting techniques and find what works best for showcasing your products in the best possible light.

Tips for Styling Your Products for Photography
When it comes to product photography, the way you style your products can make a big difference in how they appear in your images. Here are some tips to help you successfully style your products for photography:
- Keep it simple: Avoid cluttering the scene with unnecessary props or distractions. Focus on featuring the product itself so that it is the star of the photo.
- Show the product in use: If possible, demonstrate how the product is used or worn in real life. This helps potential customers visualize themselves using the product.
- Add complementary items: Consider including props that complement the product or help tell a story. For example, if you are photographing a coffee maker, you could include a bag of coffee beans and a mug to enhance the overall aesthetic.
- Use colors strategically: Pay attention to the color scheme of your products and props. Choose colors that complement each other and enhance the overall look of the image.
- Consider the background: The background of your product photos should not distract from the product itself. Choose a simple, neutral background that allows the product to stand out.
- Focus on details: Capture close-up shots of important details or features of the product. This helps customers see the quality and craftsmanship of the product up close.
- Show different angles: Experiment with photographing the product from different angles to showcase it in the best light. This can help customers get a more comprehensive view of the product.
- Include scale references: Add props or objects that show the size of the product relative to something familiar. This helps customers visualize the actual dimensions of the product.
By following these tips, you can effectively style your products for photography and create visually compelling images that resonate with your target audience. Remember, the goal is to showcase your products in the best possible light and entice customers to make a purchase.
Selecting the Best Camera Settings for Product Photography
When it comes to capturing stunning product photos, selecting the right camera settings is crucial. These settings can make a big difference in the quality of your images and how your products are portrayed. Here are some tips to help you choose the best camera settings for your product photography:
- Aperture: Aperture refers to the opening in your lens that allows light to enter the camera. For product photography, using a smaller aperture (higher f-stop number) like f/8 or f/11 can help create sharp images with good depth of field, keeping more of your product in focus.
- Shutter Speed: Shutter speed controls the amount of time the camera’s shutter is open. A faster shutter speed is ideal for capturing still products to avoid any motion blur. However, if your product includes movement, a slower shutter speed might be necessary.
- ISO: ISO determines the sensitivity of your camera sensor to light. For product photography, it’s recommended to keep the ISO as low as possible to avoid noise and maintain image quality. Start with a low ISO such as 100 or 200 and adjust as needed depending on the lighting conditions.
- White Balance: White balance ensures that colors appear accurate in your images. If you’re shooting in natural light, set your white balance to daylight. If you’re using artificial lighting, you may need to adjust the white balance settings accordingly.
Experiment with different camera settings to see what works best for your specific products and environment. Don’t hesitate to play around with the settings and make adjustments as needed to achieve the desired results. Learning how to use your camera effectively is key to capturing beautiful product photos that showcase your products in the best possible light.

Composition Techniques for Product Photography
Composition plays a crucial role in product photography as it can help to attract the viewer’s eye, highlight key features of the product, and create a visually appealing image. Here are some composition techniques to keep in mind when capturing product photos:
- Rule of Thirds: One of the basic principles of photography, the rule of thirds involves dividing your frame into a grid of nine equal sections with two horizontal and two vertical lines. By placing your subject along these gridlines or at the intersections, you can create a more visually interesting composition.
- Leading Lines: Utilize leading lines such as edges, shapes, or patterns to guide the viewer’s eye towards the main focus of the product. This can create a sense of movement and flow within the image.
- Negative Space: Don’t overcrowd your composition with too many elements. Leaving negative space around your product can help to emphasize its importance and create a clean, minimalist look.
- Frame within a Frame: Use natural elements or objects within your scene to frame your product and draw attention to it. This technique can add depth and interest to your photo.
Experiment with these composition techniques to see what works best for your products and overall brand aesthetic. Remember, there are no strict rules when it comes to composition in photography – feel free to get creative and try different angles, perspectives, and framing options to make your product photos stand out.
Editing and Retouching Product Photos
Once you have taken your product photos, the next step is to edit and retouch them to make sure they truly shine. Editing can help enhance the colors, sharpness, and overall look of your images. Here are some tips for editing and retouching your product photos:
- Use editing software: There are many editing software options available, such as Adobe Photoshop or Lightroom, that can help you adjust aspects like brightness, contrast, and saturation.
- Crop and straighten: Make sure to crop your images to remove any distracting elements and straighten them if needed to ensure a clean, professional look.
- Adjust colors: Play around with the colors in your photos to make sure they accurately represent your products. You can adjust hue, saturation, and color balance to achieve the desired effect.
- Retouch imperfections: Use tools like the clone stamp or healing brush to remove any blemishes or imperfections on your products. This will help ensure that your products look their best in photos.
- Focus on details: Pay attention to small details in your images and make adjustments as needed. This could involve sharpening edges, removing distractions, or enhancing specific features of your products.
- Maintain consistency: It’s important to maintain a consistent editing style across all your product photos to create a cohesive look for your brand. This will help establish a recognizable aesthetic for your products.
Remember, editing and retouching should enhance your product photos, not completely alter them. Aim for a natural and realistic look that accurately represents your products. Don’t be afraid to experiment and try out different editing techniques to find the style that works best for your brand.

Adding Props to Enhance Product Photography
When it comes to capturing the attention of potential customers, adding props to your product photography can take your images to the next level. Props can help tell a story, create a mood, or showcase the functionality of your products. Here are a few tips for using props effectively in your product photography:
- Keep it simple: While props can enhance your product photos, it’s important not to overwhelm the viewer. Choose props that complement your product without distracting from it.
- Use relevant props: Make sure the props you choose are related to your product and help highlight its features or benefits. For example, if you’re selling outdoor gear, you could use props like hiking boots, a backpack, or a map.
- Consider the background: Props can also be used to fill empty space in the background of your photos or add visual interest. Just make sure they don’t clutter the composition.
- Add a pop of color: Props can be used to introduce a splash of color into your product photos, making them more visually appealing and engaging.
- Experiment with different props: Don’t be afraid to try out different props to see what works best for your products. You might be surprised by how a simple prop can completely transform the look of your photos.
Remember, the goal of using props in product photography is to enhance and not distract from your products. Experiment with different props, angles, and compositions to find what works best for your brand and products. By adding props thoughtfully and strategically, you can create visually compelling images that captivate your audience and drive sales.
Creating a consistent brand aesthetic through product photography
One of the key elements in successful product photography is creating a consistent brand aesthetic. This means ensuring that all your product images have a cohesive look and feel that aligns with your brand identity.
To achieve this, start by defining your brand’s visual style. Consider your brand colors, typography, and overall design aesthetic. Your product photos should reflect these elements to maintain a cohesive brand image.
- Use consistent backgrounds: Choose a background style that complements your brand’s visual identity. Whether you opt for a simple white background or a more elaborate set-up, make sure it remains consistent across all your product images.
- Focus on styling: Pay attention to the styling of your products to ensure they align with your brand aesthetic. Whether it’s using props, textures, or patterns, make sure each element adds to the overall look and feel of your brand.
- Consider your lighting: Lighting plays a crucial role in setting the mood of your product photography. Whether you prefer natural light or artificial lighting, ensure it helps highlight your products in a way that reflects your brand’s tone.
- Opt for a similar editing style: Consistent editing can help tie your product images together. Whether you opt for a clean and minimal look or a more vibrant and colorful approach, make sure all your photos are edited in a similar style.
By creating a consistent brand aesthetic through your product photography, you can establish a strong visual identity that resonates with your target audience. Remember, consistency is key in building brand recognition and credibility.
Optimizing Product Images for Online Use
When it comes to showcasing your products online, having optimized images can make a big difference in attracting potential customers and increasing sales. Here are some key tips to help you optimize your product images for online use:
- Image Resolution: Ensure that your product images are high-resolution to provide clear and detailed visuals for customers. This will help them get a better look at the product and make informed decisions.
- Image Compression: While high-resolution is important, it’s also essential to compress your images for faster loading times on your website. Use image compression tools or plugins to strike a balance between quality and loading speed.
- Alt Text: Add descriptive alt text to your images to improve accessibility and help search engines understand what the image is about. Alt text also comes in handy when images cannot be loaded, providing a text description of the product.
- File Names: Rename your image files with relevant keywords related to the product. This can help improve SEO and make it easier for search engines to find your product images when users are searching for similar products.
- Descriptive Titles and Captions: Provide clear and concise titles and captions for your product images. This can help enhance the user experience and provide additional information about the product being showcased.
- Responsive Design: Ensure that your website is optimized for mobile devices. This includes ensuring that your product images are responsive and adapt well to different screen sizes, providing a seamless browsing experience for mobile users.
- SEO Optimization: Optimize your product images for SEO by including relevant keywords in the image file names, alt text, and surrounding text content. This can help improve your website’s visibility in search engine results for product-related searches.
By following these optimization techniques, you can ensure that your product images stand out online, attract more customers, and ultimately drive sales for your business.

Emerging Trends in Product Photography for 2024-2025
In the ever-evolving world of product photography, staying on top of the latest trends is key to creating impactful and visually appealing images. As we head into 2024-2025, there are several emerging trends that are shaping the future of product photography.
- Augmented Reality: One of the most prominent trends in product photography is the use of augmented reality (AR) technology. This allows customers to virtually try products before making a purchase, enhancing the overall shopping experience.
- 360-Degree Product Images: Another trend gaining traction is the use of 360-degree product images. These interactive photos allow customers to view products from all angles, providing a comprehensive look at the item.
- Green and Sustainable Photography: With increasing focus on sustainability, environmentally-friendly product photography practices are becoming more popular. This includes using eco-friendly props and backgrounds, as well as showcasing sustainable products in a natural setting.
- Minimalist and Clean Aesthetic: A trend that has been growing in recent years and is expected to continue into 2024-2025 is the minimalist and clean aesthetic in product photography. Simple backgrounds and muted colors are favored to highlight the product itself.
- Motion and Animation: Adding motion and animation to product photography is another emerging trend. This dynamic element can help captivate viewers’ attention and make the product stand out in a crowded marketplace.
By embracing these emerging trends in product photography, you can ensure that your images are not only visually appealing but also resonate with your target audience. Experimenting with new techniques and technologies can set your product photography apart and keep your brand ahead of the curve in the coming year.
More
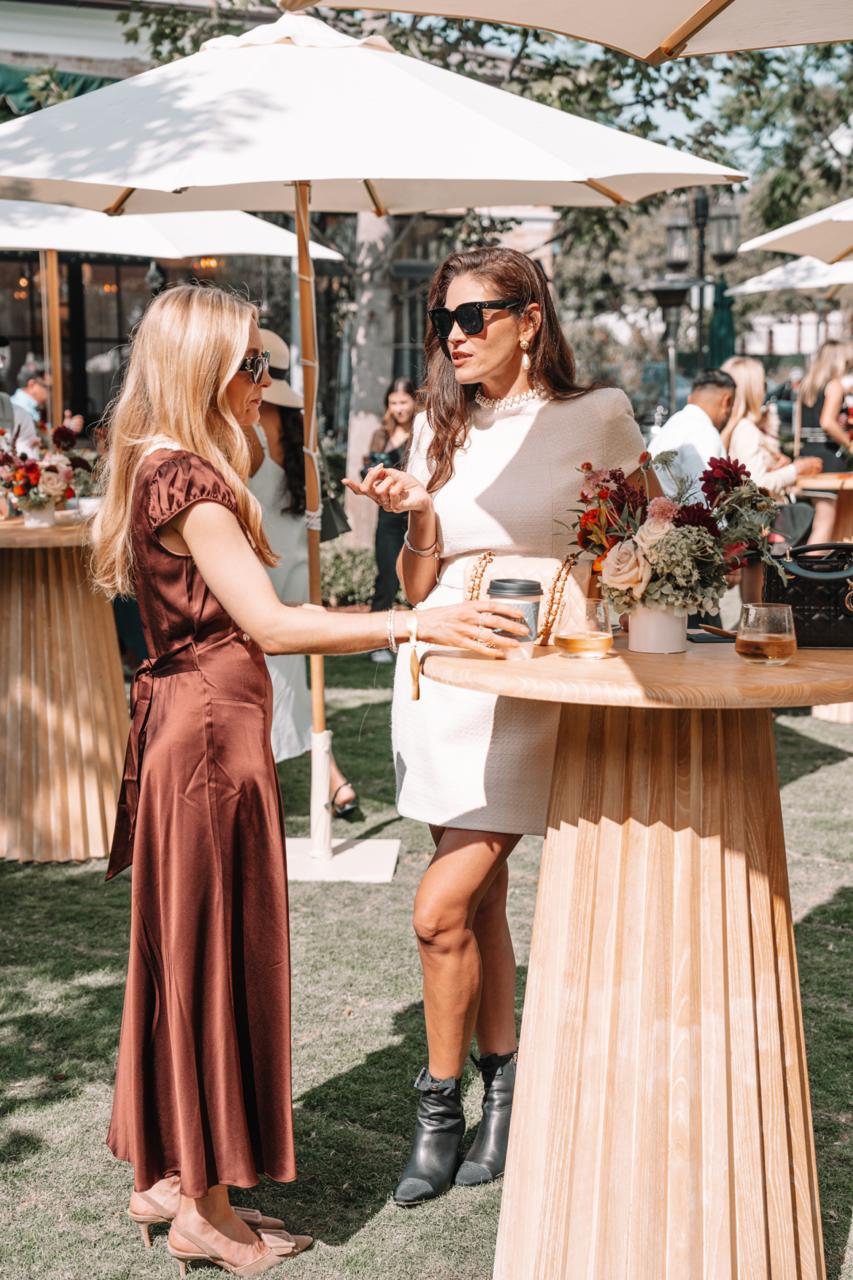
Case : Event photography for Palisades Village
Palisades Village is a premier outdoor shopping and lifestyle destination in Pacific Palisades, California. Capturing events at such an iconic venue requires a blend of candid storytelling, detailed commercial shots, and high-energy atmosphere photography. Below is a breakdown of how we captured the essence and vibrant energy of this event. Every great event begins with […]
More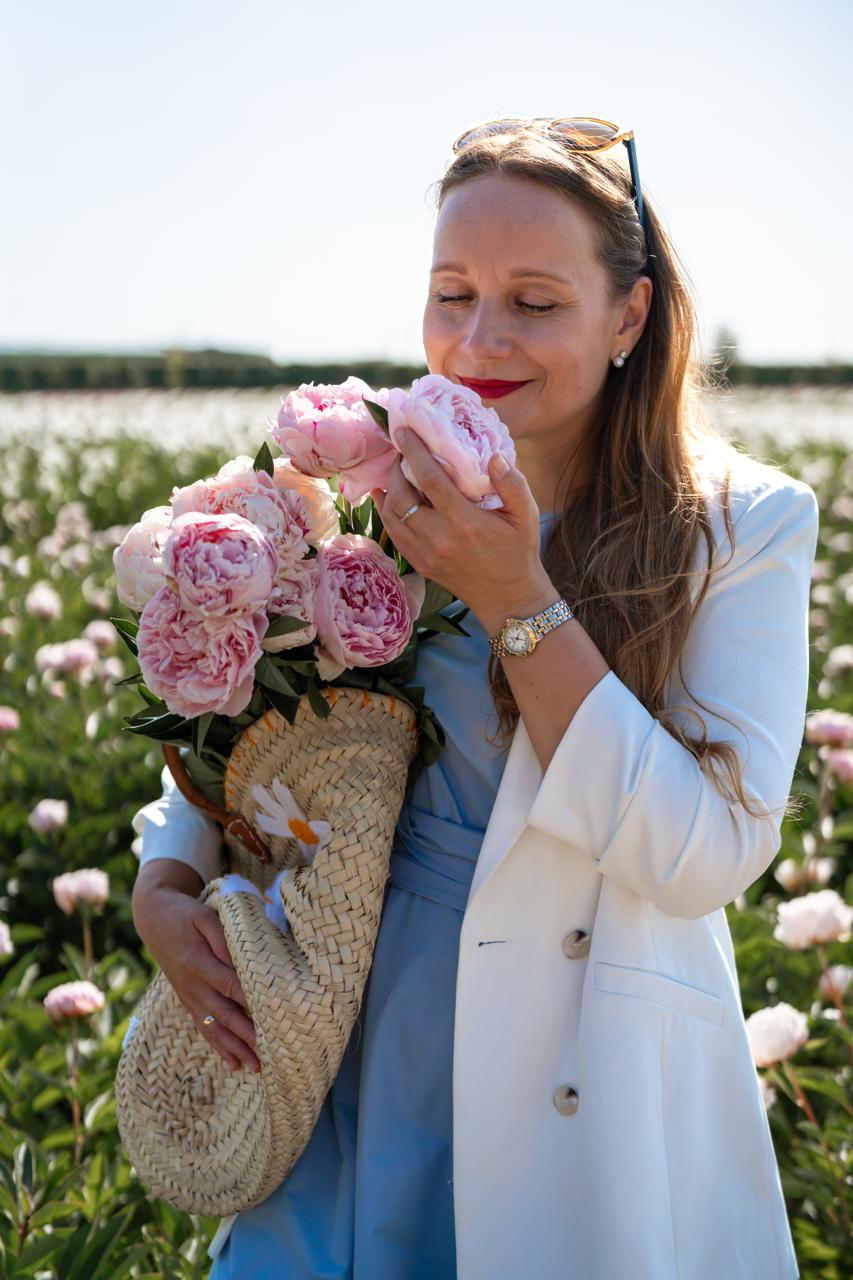
Case : Peony Field Photoshoot at Bury Lane Farm | Cambridge Photographer
This beautiful group portrait photography session took place in the breathtaking peony fields of Bury Lane Farm in Cambridgeshire. As a Cambridge photographer specialising in portrait photography and lifestyle photography, I love creating natural images that capture genuine emotions and meaningful moments. Nine wonderful women came together to enjoy an unforgettable summer afternoon surrounded by […]
More
Case : Professional Headshot Photography in West Hollywood
I delivered personalized headshot photography sessions in West Hollywood for professionals seeking high-impact images for articles, corporate profiles, and social media. Client: Professionals and musicians looking to elevate their personal branding with compelling portraits. Objective: To create confident, authentic images that help clients make a memorable first impression. Process: 1. Consultation Discussed each client’s style […]
More