
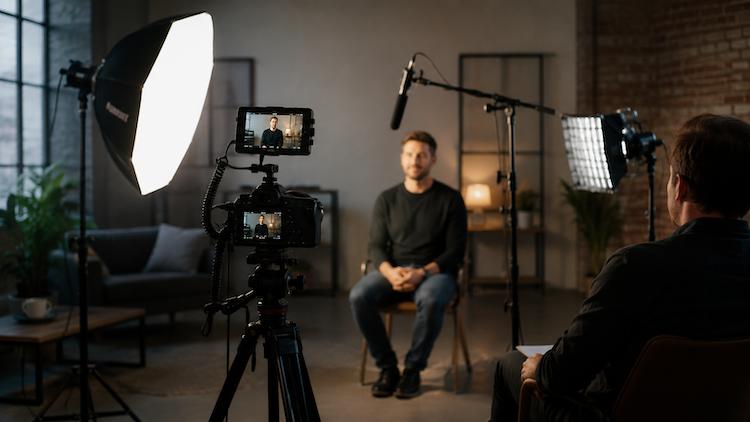
Best Camera Setup for Interviews
Understanding the Importance of a Good Camera Setup for Interviews
When it comes to conducting interviews, having a good camera setup is essential. The quality of your camera setup can make a significant difference in the overall professionalism and impact of your interview footage. Whether you are filming a job candidate, conducting a documentary interview, or capturing a testimonial, it’s crucial to invest in the right equipment to ensure that your final product meets the expectations of your audience.
Having a reliable camera setup allows you to capture clear, sharp footage that highlights the details of your interview subject. It can also help create a polished look that is visually appealing and engaging for viewers. A well-executed camera setup can enhance the overall credibility of your interviews and improve the overall viewing experience.
- Clear Communication: A good camera setup enables you to effectively communicate with your audience by capturing the nuances of your subject’s expressions, gestures, and emotions. This visual communication is crucial for conveying the message and tone of the interview.
- Professionalism: A high-quality camera setup can elevate the production value of your interviews, making them look more professional and captivating. This can help attract and retain the attention of viewers, keeping them engaged throughout the interview.
- Memorability: A good camera setup can make your interviews more memorable, creating a lasting impression on your audience. The visual quality of your footage can increase the impact of the message and make it more likely to resonate with viewers long after they have watched the interview.
Overall, understanding the importance of a good camera setup for interviews is crucial in creating effective and impactful interview footage. By investing in the right equipment and following best practices, you can enhance the quality of your interviews and achieve consistent results that meet the expectations of your audience.
Choosing the Right Camera for Interviewing: DSLR vs Mirrorless vs Camcorder
When it comes to choosing the right camera for interviews, it’s important to consider your specific needs and budget. There are three main types of cameras commonly used for filming interviews: DSLR, mirrorless, and camcorder.
- DSLR: DSLR cameras are a popular choice for many filmmakers due to their versatility and ability to capture high-quality video. They offer interchangeable lenses and great low-light performance, making them a reliable option for interviews.
- Mirrorless: Mirrorless cameras are becoming increasingly popular for video production, as they offer similar image quality to DSLRs in a more compact and lightweight package. They also have the advantage of faster autofocus and silent shooting, ideal for capturing interviews discreetly.
- Camcorder: Camcorders are designed specifically for video recording and often include features such as built-in microphones and long zoom ranges. While they may not offer the same level of image quality as DSLRs or mirrorless cameras, they are a convenient and straightforward option for interviews.
Ultimately, the best camera for your interview setup will depend on your personal preferences and the specific requirements of your project. If you prioritize image quality and flexibility, a DSLR or mirrorless camera may be the best choice. However, if simplicity and ease of use are more important to you, a camcorder could be the better option.
When comparing cameras, consider factors such as sensor size, resolution, frame rate, lens compatibility, and price. Test out different cameras in person to see which one feels most comfortable for you to handle and operate during interviews.
Remember, the camera is just one part of the overall setup for shooting interviews. Pay attention to other factors such as lighting, audio quality, and composition to ensure a professional-looking final product.
Selecting the best lenses for interview filming
When it comes to choosing the right lenses for your interview setup, it’s important to consider a few key factors. The lens you use can have a significant impact on the overall look and feel of your footage, so it’s worth taking the time to select the best option for your specific needs.
- Prime lenses: Prime lenses offer a fixed focal length, which means they do not have zoom capabilities. However, prime lenses are known for their sharpness and low-light performance, making them a popular choice for interview filming. Additionally, prime lenses can help create a more cinematic look with a shallow depth of field.
- Zoom lenses: Zoom lenses, on the other hand, offer a range of focal lengths, allowing you to easily adjust your framing without having to physically move the camera. While zoom lenses can be convenient for capturing interviews in different settings, they may not offer the same level of image quality as prime lenses.
- Lens aperture: The aperture of a lens plays a crucial role in determining how much light passes through to the sensor. A wider aperture (lower f-stop number) allows for more light to enter the camera, resulting in better low-light performance and the ability to achieve a shallow depth of field. Consider lenses with a wide aperture if you plan on filming interviews in dimly lit environments.
- Lens focal length: The focal length of a lens will impact the perspective and framing of your shots. For interviews, it’s generally recommended to use lenses with focal lengths around 50mm. This is because a 50mm lens closely mimics the field of view of the human eye, creating natural-looking compositions that are flattering for your subjects.
- Image stabilization: If you anticipate shooting handheld or in situations where camera shake may be a concern, consider lenses with built-in image stabilization technology. This feature can help minimize unwanted blur in your footage, resulting in smoother, more professional-looking interviews.
Ultimately, the best lens for your interview setup will depend on your specific filming style, budget, and technical requirements. It’s always a good idea to test out different lenses and see how they perform in various shooting scenarios before committing to one for your interviews. By selecting the right lens for the job, you can elevate the quality of your interview footage and create visually engaging content that captivates your audience.
The Significance of Lighting in Creating a Professional Interview Look
One of the most crucial aspects of setting up your camera for an interview is proper lighting. Lighting plays a major role in creating a professional and polished look for your interviews. Without good lighting, your footage can appear dull, shadowy, or washed out, diminishing the overall quality of your video.
When it comes to lighting for interviews, you want to ensure that your subject is well-lit and that there are no distracting shadows or harsh lighting. Good lighting helps to enhance facial features, create a sense of depth, and provide a visually pleasing aesthetic for your interviews.
- Key Light: The key light is the primary light source for your interview setup. It should be positioned in front of your subject, slightly off to one side, to illuminate their face and provide even lighting.
- Fill Light: The fill light is used to fill in any shadows created by the key light. It should be placed on the opposite side of the key light to soften shadows and create a balanced lighting effect.
- Back Light: The back light is positioned behind your subject to create separation between them and the background. It helps to add depth to the shot and prevent your subject from appearing flat.
It’s important to experiment with different lighting setups to achieve the best results for your interviews. Natural lighting can work well in some situations, but using artificial lighting setups, such as softboxes or LED panels, can offer more control over the lighting environment.
Remember to consider the color temperature of your lighting, as well. Matching the color temperature of all your lights ensures a cohesive and natural look in your footage.
Overall, investing time and effort into creating good lighting for your interviews can make a significant difference in the final product. It can elevate the professionalism of your videos, engage your audience, and help to establish a strong visual presence for your interviews.
Using External Microphones for Improved Audio Quality During Interviews
When it comes to creating high-quality interview videos, audio quality is just as important as the visuals. No matter how crisp and clear your video looks, viewers will not stay engaged if they can’t hear the conversation properly. This is why investing in an external microphone is crucial for capturing clean and clear audio during interviews.
There are various types of external microphones available on the market, including shotgun mics, lavalier mics, and handheld microphones. The type of microphone you choose will depend on your specific needs and budget. However, no matter which type you opt for, all external microphones are designed to capture audio more effectively than the built-in microphone on your camera.
- Shotgun Microphone: A shotgun microphone is a highly directional microphone that picks up sound from a specific direction, making it ideal for capturing audio from the subject of your interview while minimizing background noise.
- Lavalier Microphone: Lavalier mics are small, discreet microphones that can be attached to the clothing of your subject for hands-free audio recording. They are great for capturing clear dialogue without any interference.
- Handheld Microphone: Handheld microphones are perfect for interviewer-led interviews where the interviewer and interviewee both need to be heard clearly. They are also great for capturing audience participation during events.
Regardless of the type of external microphone you choose, you should always test the audio quality before beginning your interview. Make sure the microphone is properly connected to your camera or recording device and positioned close enough to the speaker to capture clear audio.
Good audio quality can make or break an interview video, so investing in a high-quality external microphone is well worth it. Your viewers will appreciate being able to hear the dialogue clearly without any distractions, leading to a more engaging and professional final product.
Tripods and stabilizers: essential tools for steady interview footage
One of the most important elements in creating professional-looking interview footage is ensuring your camera remains steady throughout the shoot. Even slight movements can result in shaky or blurry footage, which can be distracting to viewers.
Using a tripod is the simplest and most effective way to keep your camera steady during interviews. Tripods come in a variety of sizes and styles, ranging from lightweight travel tripods to heavy-duty professional models. Choose a tripod that is sturdy enough to support your camera and allows you to easily adjust the height and angle of your shot.
Stabilizers, such as a handheld gimbal or shoulder rig, can also help to minimize shaky footage by stabilizing the camera as you move. These tools are especially useful for dynamic shots where you need to follow the subject or capture motion.
- Invest in a good quality tripod to keep your camera steady during interviews.
- Consider using a stabilizer for smoother shots while moving the camera.
Remember to practice using your tripod and stabilizer before the interview to ensure you are comfortable operating them. Proper adjustment and positioning of your equipment can make a significant difference in the overall quality of your footage.
By utilizing tripods and stabilizers, you can achieve professional-looking interview footage that is stable, smooth, and visually engaging for your audience.
Best practices for framing and composition in interview shots
When it comes to filming interviews, framing and composition play a crucial role in capturing the essence of the conversation and creating a visually engaging video. Follow these best practices to enhance your interview shots:
- Rule of thirds: Divide the frame into thirds both horizontally and vertically, and position your subject along these lines to create a balanced and visually appealing composition.
- Eye level: Ensure that the camera is positioned at eye level with your subject to establish a sense of intimacy and connection.
- Headroom: Leave some space above your subject’s head to prevent crowding and maintain a natural look in your shots.
- Frame within a frame: Use elements within the frame, such as doorways or windows, to frame your subject and add depth to the shot.
- Leading lines: Incorporate leading lines, such as roads or fences, to direct the viewer’s eye towards your subject and create a sense of movement in the shot.
- Background considerations: Pay attention to the background of your shot to ensure that it complements your subject and doesn’t distract from the main focus.
By following these framing and composition techniques, you can elevate the visual quality of your interview shots and effectively convey your message to your audience.
Selecting the Appropriate Backdrop for Your Interview Setup
When setting up your camera for interviews, one important factor to consider is the backdrop behind your subject. The backdrop can greatly influence the overall look and feel of your interview footage, helping to create a professional and cohesive appearance. Here are some tips for selecting the right backdrop:
- Avoid distractions: Choose a backdrop that is plain and simple, free of clutter or distracting elements. A clean and neutral background will help keep the focus on your subject.
- Consider the mood: Think about the vibe you want to convey in your interview. A solid colored backdrop can provide a classic and timeless look, while a textured or patterned backdrop can add visual interest.
- Match the tone: Ensure that the backdrop complements the tone and content of the interview. For a serious or professional interview, a neutral backdrop may be more suitable, while a colorful backdrop can add energy and personality for a more casual interview.
- Avoid conflicting colors: Be mindful of color combinations between the backdrop, clothing, and skin tones of your subject. Colors that clash or blend in with the subject can detract from the overall impact of the interview.
- Keep it consistent: If filming multiple interviews for the same project, aim to use the same or similar backdrops to maintain a cohesive look throughout. Consistency in backdrops can help tie the interviews together visually.
Ultimately, the backdrop you choose should enhance the overall presentation of your interview, rather than detract from it. Take the time to consider the aesthetics and practical aspects of your backdrop to create a polished and professional look for your interview setup.
Tips for conducting successful interviews with your camera setup
Interviews can be nerve-wracking for both the interviewer and the interviewee, but with the right preparation and techniques, you can ensure a successful outcome. Here are some tips to help you conduct effective interviews with your camera setup:
- Prepare questions in advance: Before the interview, take the time to prepare a list of questions that will guide the conversation. Make sure your questions are clear, concise, and relevant to the topic at hand.
- Create a comfortable atmosphere: It’s important to create a relaxed and comfortable environment for the interviewee. Make small talk before the interview starts to help them feel at ease.
- Listen actively: Pay close attention to what the interviewee is saying and respond accordingly. This will not only help you guide the conversation but also show respect for their perspective.
- Keep the camera rolling: Sometimes the best moments happen when the camera is rolling between questions. Don’t be afraid to let the interview flow naturally and capture those authentic moments.
- Encourage storytelling: Encourage the interviewee to share personal anecdotes or stories related to the topic. This can add depth and emotion to the interview footage.
- Stay flexible: Be prepared to go off-script if necessary. Sometimes the most insightful moments come from unexpected turns in the conversation.
- Respect boundaries: If the interviewee seems uncomfortable or hesitant to answer a particular question, respect their boundaries and move on to a different topic.
- Ask follow-up questions: Don’t be afraid to dig deeper into a topic by asking follow-up questions. This can lead to more detailed and insightful responses.
- Don’t rush: Take your time during the interview and allow the conversation to develop organically. Rushing through questions can make the interview feel disjointed and forced.
- Express gratitude: After the interview is over, remember to thank the interviewee for their time and participation. Building a positive relationship with your subjects can lead to future opportunities for collaboration.
By following these tips, you can conduct successful interviews with your camera setup and capture engaging and impactful footage for your audience.
Post-production techniques to enhance your interview footage
Once you’ve captured your interview footage, the real magic happens in post-production. This is where you can enhance the look and feel of your video to create a professional final product. Here are some post-production techniques to help you do just that:
- Color grading: Adjusting the colors and tones of your footage can drastically improve the overall look of your interview. You can enhance skin tones, create a mood or style, and make your video more visually appealing.
- Audio editing: Clean up any background noise or distractions in your audio tracks. You can also enhance the volume levels and clarity of your interviewee’s voice to ensure that your audience can hear them clearly.
- Adding B-roll footage: To keep your viewers engaged, consider adding B-roll footage to break up your interview shots. This could be additional footage that supports what the interviewee is saying or provides context to the topic being discussed.
- Transitions and graphics: Adding subtle transitions between shots and using graphics or text overlays can help to smooth out the flow of your interview. It can also help in emphasizing key points or information within the interview.
- Music and sound effects: Adding a suitable music track or sound effects can enhance the emotional impact of your interview. It can also help to set the tone and mood of the video.
- Exporting and compression: Once you are done editing your interview footage, make sure to export it in the correct format and resolution for online viewing. Consider compressing the file size if needed to ensure quicker loading times and better streaming quality.
By utilizing these post-production techniques, you can take your interview footage to the next level and create a polished final product that will captivate your audience. Experiment with different editing styles and techniques to find what works best for your interviews.
Recommended Gear and Accessories to Optimize Your Camera Setup for Interviews
When it comes to creating a high-quality interview video, the right gear and accessories can make all the difference. Here are some recommended items to help you optimize your camera setup for interviews:
- Additional Batteries: Ensure that you have enough power to keep your camera running throughout the entire interview. Extra batteries are essential for long filming sessions.
- Memory Cards: Don’t run out of storage space in the middle of an interview. Invest in high-capacity memory cards to capture all the footage you need.
- Camera Bag: Protect your camera and accessories with a durable camera bag that offers both protection and convenience for transporting your equipment.
- External Monitor: Improve your framing and composition by using an external monitor to get a larger view of your shot while filming. This can also help ensure that your footage is in focus.
- Reflector or Diffuser: Control light and shadows by using a reflector or diffuser on location. These tools can help create a more professional and flattering lighting setup for your interviews.
- Portable Lighting Kit: Enhance the visual quality of your interviews with a portable lighting kit. This allows you to adjust the light to achieve the desired look for your video.
- Wireless Microphone System: Improve audio quality during interviews by using a wireless microphone system. This helps eliminate background noise and ensures clear and high-quality sound.
- Teleprompter: Keep your interviews on track and ensure that your subject delivers their lines smoothly with a teleprompter. This tool can assist with maintaining eye contact and delivering dialogue confidently.
By investing in the right gear and accessories, you can optimize your camera setup for interviews and create professional-looking videos that engage your audience. Remember to evaluate your specific needs and budget before adding any additional items to your setup.
Conclusion: Putting it all Together for the Best Camera Setup for Interviews
After exploring the key components of creating the best camera setup for interviews, it’s clear that attention to detail and careful consideration of each element is essential in achieving professional-quality footage. By understanding the importance of a good camera setup, choosing the right equipment, and utilizing various techniques, you can enhance the overall production value of your interviews.
- Camera Choice: Whether you opt for a DSLR, mirrorless camera, or camcorder, make sure to select the one that best suits your filming needs.
- Lens Selection: Choose lenses that will provide the desired focal length and depth of field for your interview shots.
- Lighting: Utilize proper lighting techniques to create a professional look and enhance the appearance of your subject.
- Audio Quality: Incorporate external microphones to capture high-quality sound and reduce background noise during interviews.
- Stabilization: Use tripods and stabilizers to ensure steady footage and minimize camera shake.
- Framing and Composition: Pay attention to framing and composition to create visually appealing interview shots.
- Backdrop: Choose an appropriate backdrop that complements your subject and adds visual interest to your interviews.
- Interview Techniques: Implement effective interviewing techniques to engage your subject and capture compelling content.
- Post-Production: Enhance your interview footage by utilizing post-production techniques such as color correction and audio editing.
- Gear and Accessories: Consider investing in additional gear and accessories to further optimize your camera setup for interviews.
By following these guidelines and putting all of these elements together, you can create a professional and engaging interview setup that will impress your audience and effectively convey your message. Remember, practice makes perfect, so don’t be afraid to experiment and refine your skills to achieve the best results with your camera setup for interviews.
More
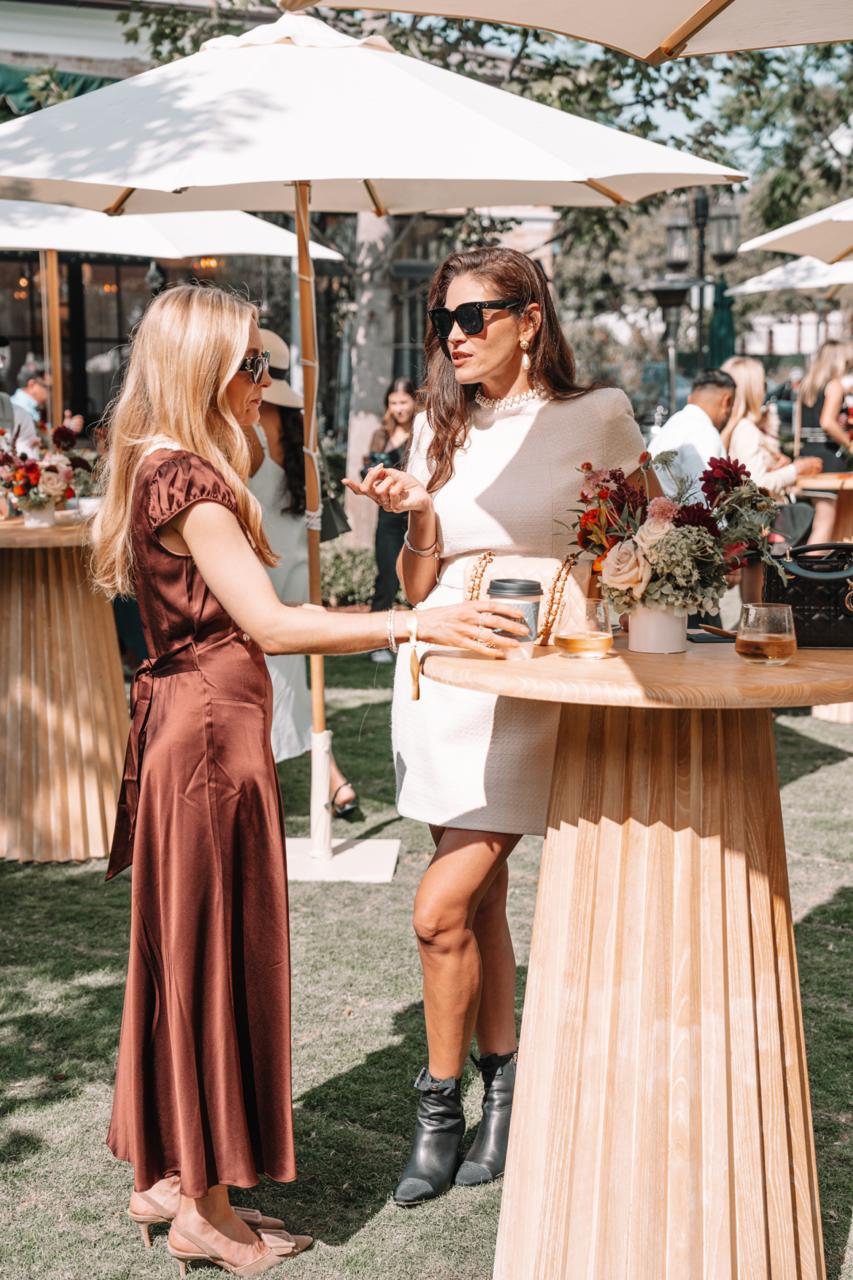
Case : Event photography for Palisades Village
Palisades Village is a premier outdoor shopping and lifestyle destination in Pacific Palisades, California. Capturing events at such an iconic venue requires a blend of candid storytelling, detailed commercial shots, and high-energy atmosphere photography. Below is a breakdown of how we captured the essence and vibrant energy of this event. Every great event begins with […]
More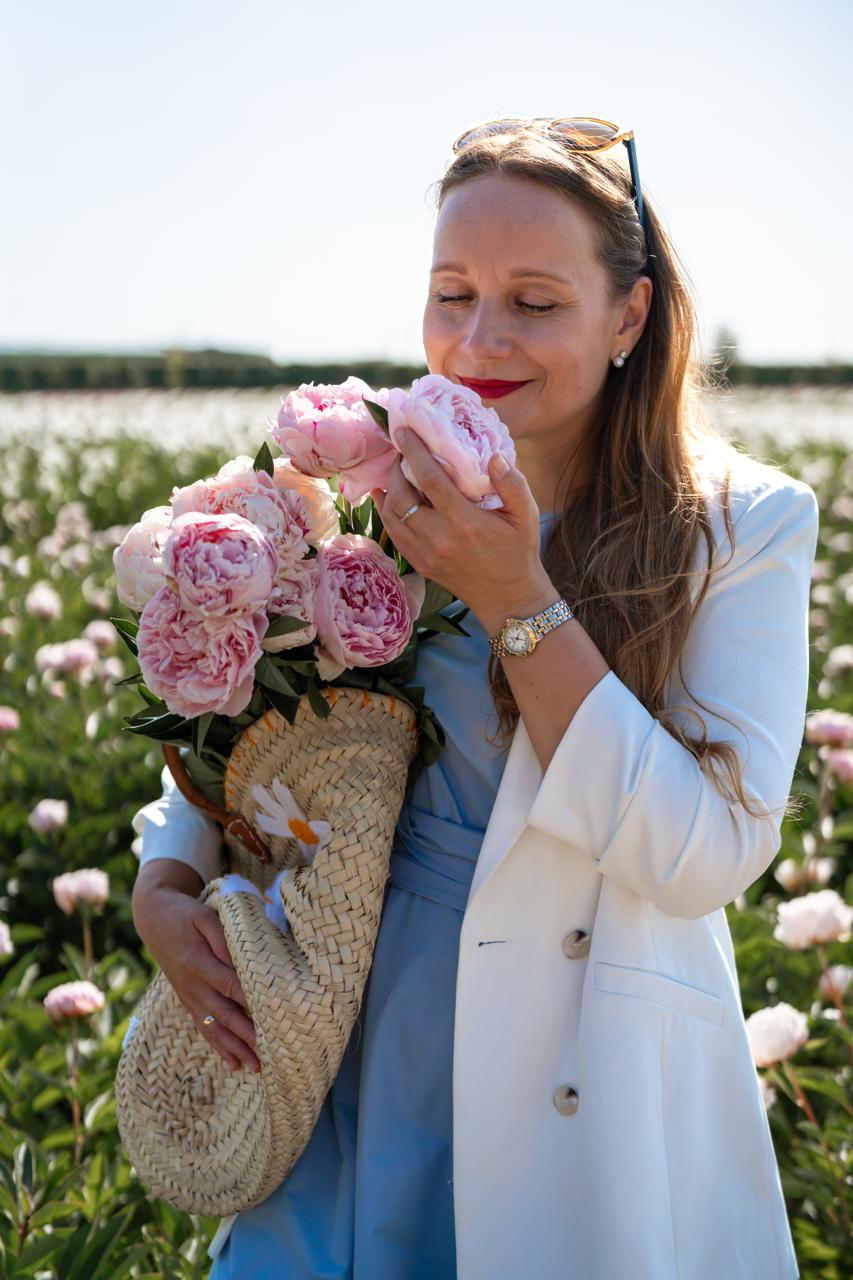
Case : Peony Field Photoshoot at Bury Lane Farm | Cambridge Photographer
This beautiful group portrait photography session took place in the breathtaking peony fields of Bury Lane Farm in Cambridgeshire. As a Cambridge photographer specialising in portrait photography and lifestyle photography, I love creating natural images that capture genuine emotions and meaningful moments. Nine wonderful women came together to enjoy an unforgettable summer afternoon surrounded by […]
More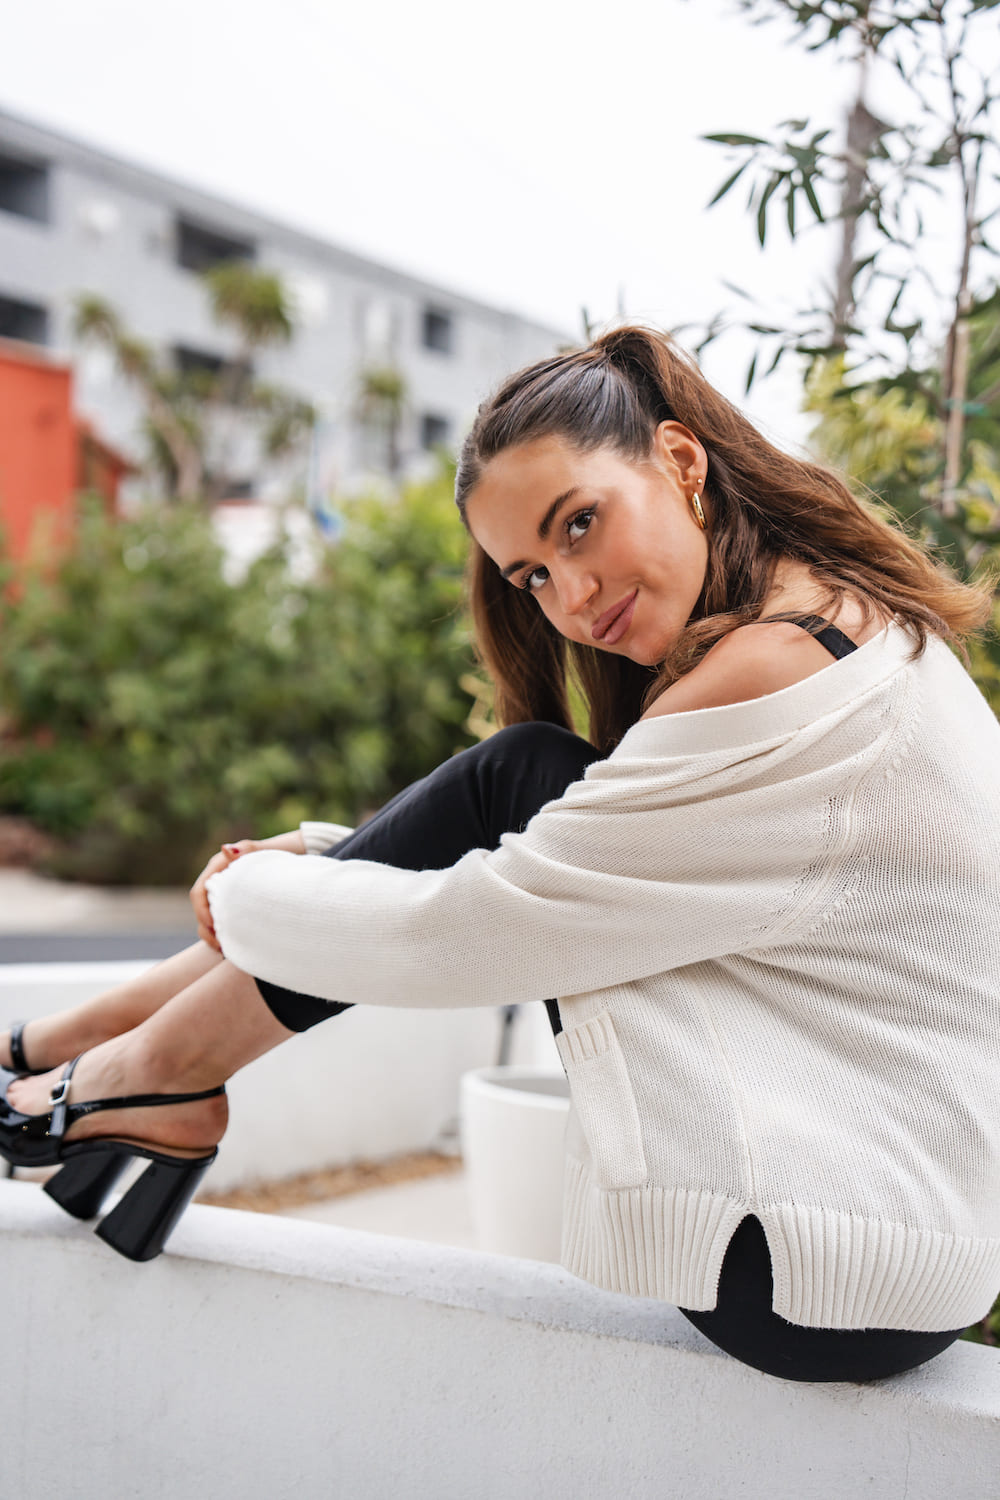
Case : Professional Headshot Photography in West Hollywood
I delivered personalized headshot photography sessions in West Hollywood for professionals seeking high-impact images for articles, corporate profiles, and social media. Client: Professionals and musicians looking to elevate their personal branding with compelling portraits. Objective: To create confident, authentic images that help clients make a memorable first impression. Process: 1. Consultation Discussed each client’s style […]
More